This page describes how to setup Eclipse, and run Zong! and its automated tests. Please follow the steps carefully.
| Table of Contents | ||
|---|---|---|
|
Setup Eclipse
After Zong! was downloaded, it can be opened in the Eclipse IDE. This section describes the steps for getting Zong! up and running.
...
Import the projects
Zong! consists of many subprojects, called modules. These have to be imported once.
Choose "File → Import...". In the following dialog, select "General → Existing Projects into Workspace" and click on "Next >".
...
Download or update the external libraries
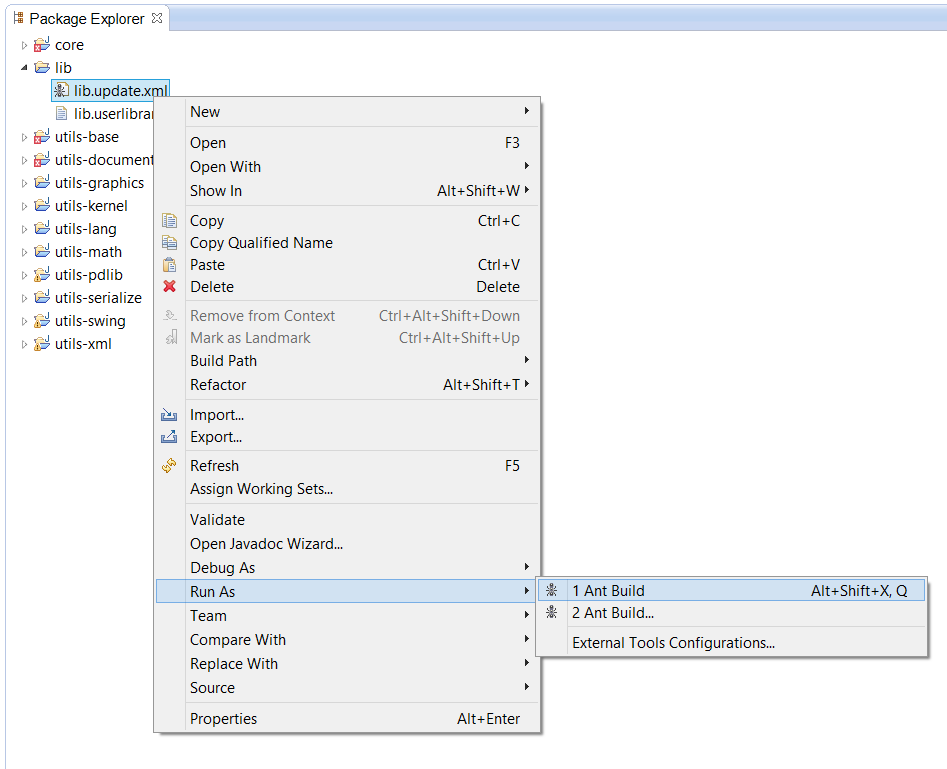
As you will notice, Zong! is still not ready for compiling. A lot of errors appear in the Problems view of Eclipse. We need to download some external libraries, which are not part of the git repository (since we do not want to store large binary files there, to keep the repository small). Downloading or updating the libraries is easy: Just right click the Ant script file lib.update.xml in the lib project, then select "Run As → Ant Build". All required libraries will be downloaded.
| Tip |
|---|
Each time when you update (pull) your local repository, and when you get classpath errors when compiling, repeat this step. Probably the libraries were changed or updated to newer versions. |
...
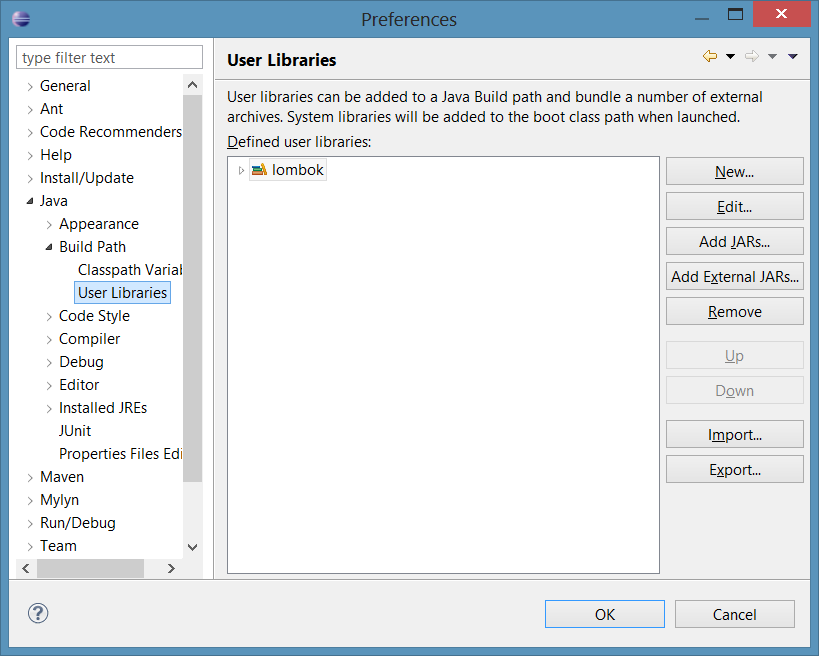
Zong! uses some so-called "user libraries", which must be imported into Eclipse. In "Window -> Preferences", under "Java -> Build Path -> User Libraries", click on "Import...". In the following dialog, click on "Browse..." and select the file lib/lib.userlibraries. Click "OK" to import all libraries.

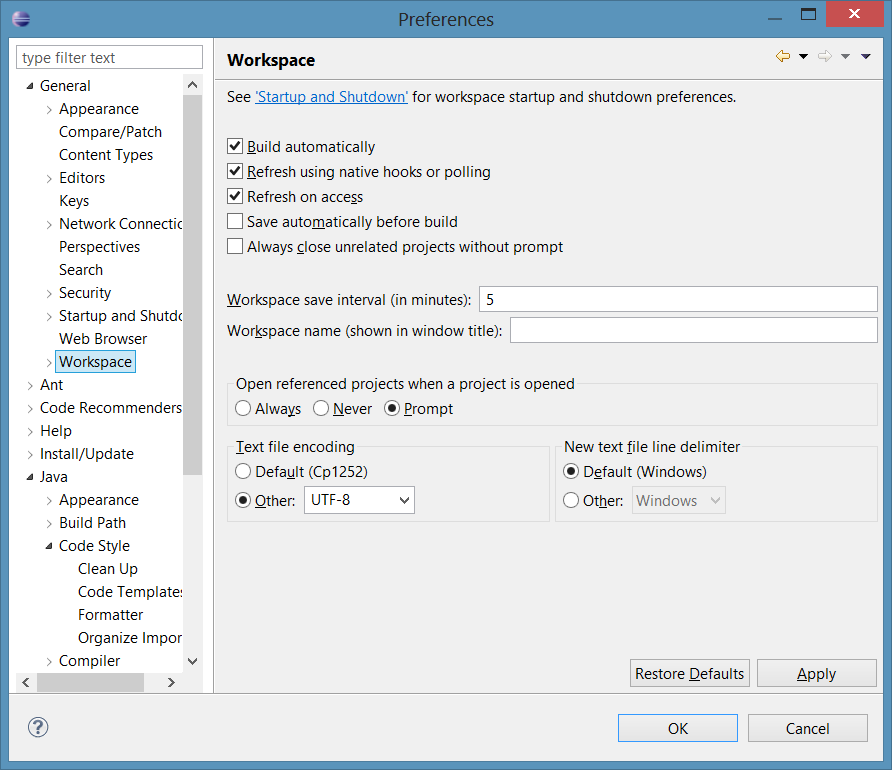
Java allows different formatting styles. We use a compact format, for example with opening braces at the same line. To let Eclipse know about our formatting style, we have to import it. In "Window -> Preferences", under "Java -> Code Style -> Formatter", click "Import..." and select the file utils/material/Eclipse Java Formatter.xml.

The following video demonstates how Zong! can be opened, run and tested within the Eclipse IDE. We tested it with version 4.5 (Mars).
If you have problems or questions, which are not answered in this video, please tell us.
| Note |
|---|
Don't forget to install Lombok in Eclipse by starting the lombok-{version}.jar file which is downloaded by Gradle. |
| Widget Connector | ||
|---|---|---|
|